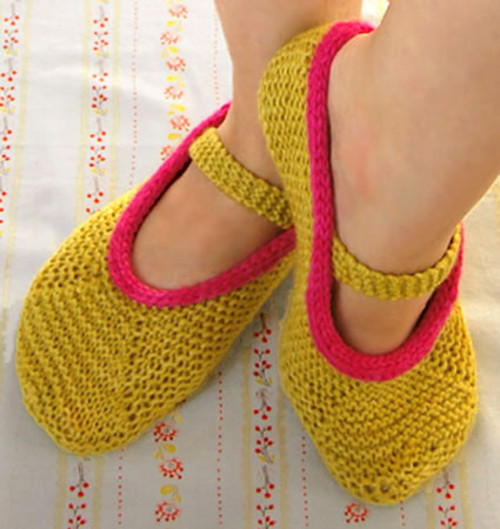
 You can easily create a beautyfull shoes for you or family members. Simply follow these step by step instructions carefully. To see all her knitting patterns, you can type the keyword “Purl Bee Patterns” in Google search box.
Gauge
5 stitches = 1 inch in garter stitch
Finished Size
5 stitches = 1 inch in garter stitch
Finished Size
Fits medium size woman's foot (shoe size 7-9)
Making the Sole
Note: If you slip the first stitch of every row, it will be a little bit easier to pick up stitches later.
Making the Sole
Note: If you slip the first stitch of every row, it will be a little bit easier to pick up stitches later.
Cast on 8 stitches
Row 1: Knit
Increase Row: Slip 1, kfb, knit to last 2 stitches, kfb, knit 1 (10 st).
Knit 2 rows.
Repeat the last 3 rows 2 more times (14 stitches)
Knit until piece measures 2 inches from cast on edge (or, if you prefer to count rows: Knit 11 rows).
Knit an Increase Row (16 stitches).
Knit until piece measures one more inch (11 rows).
Repeat the last 12 rows 3 more times (piece will measure 6-inches and there will be 22 stitches).
At this point the sole should look something like this:
Row 1: Knit
Increase Row: Slip 1, kfb, knit to last 2 stitches, kfb, knit 1 (10 st).
Knit 2 rows.
Repeat the last 3 rows 2 more times (14 stitches)
Knit until piece measures 2 inches from cast on edge (or, if you prefer to count rows: Knit 11 rows).
Knit an Increase Row (16 stitches).
Knit until piece measures one more inch (11 rows).
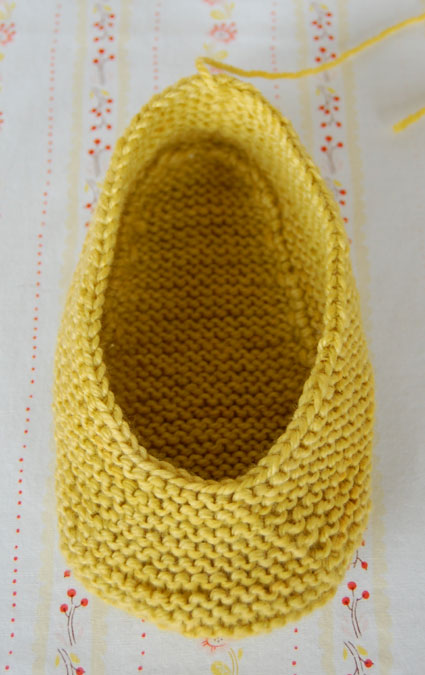
Repeat the last 12 rows 3 more times (piece will measure 6-inches and there will be 22 stitches).
At this point the sole should look something like this:

Decrease Row: Slip 1, k2tog, k to last 3 stitches, ssk, knit 1 (20 stitches).
Knit 1 row.
Repeat the last 2 rows 8 more times (4 stitches).
Bind off.
.
Making the UpperStarting at the center of the heel (with either side facing you), pick up 42 stitches to the center of the toe (pick up 1 stitch for every stitch around the heel and toe, and 3 stitches for every 4 up the sides).
Pick up 42 stitches down the other side to the center back of the heel and place a marker (pm). (84 stitches on needle). Work the following rows in the round.

Knit 1 round.
Purl 1 round.
Repeat the last 2 rounds.
Next round: Knit 32, pm (use a different color than the end-of-the-round marker), k2tog, k 16, ssk, pm (use the same color as the marker just placed), knit 32.

Next round: Knit to marker, k2tog, knit to 2 stitches before marker, ssk, knit to end of round.
Repeat last 2 rounds until there are 6 stitches between the 2 same color markers (5 times) (70 stitches total remaining).
Bind off loosely.
Attaching the I-Cord
With the contrast yarn, use the provisional cast-on technique (see our provisional cast-on tutorial) to cast 4 stithces onto one US size 5 double pointed needle.
Starting at the center of the heel, knit an attached I-cord around the edge of the slipper. Pick up 1 st for every bound off stitch. For instructions on knitting an attached I-cord, see our tutorial. Finish the two live ends of the Attached I-cord by refering to our Kitchener Stitch Tutorial.

Knitting the Strap
Try the slipper on to see where you would like to have the strap. I placed mine 3 inches from the center of the heel.With a US size 5 double pointed needle, pick up 5 stitches inside the slipper, on the left side, right below the attached I-cord.


The last row you knit should leave the yarn at the heel end of the slipper. Cut an 8 inch tail and thread it through a tapestry needle.
Straight across from where the strap began, thread the yarn up through a purl bump.

Repeat these 2 steps until no stitches remain.
Weave in all the ends. And make another!

Thank PurlBee.com very much for sharing this nice pattern with everyone!